HTML forms are like mini-conversations on your web page. They allow users to interact with your website by providing information. This information can be anything you need, from names and emails to choosing options from a menu or uploading files.
Let’s break down the key elements that make up an HTML form:
1. The Form Container: <form> Tag
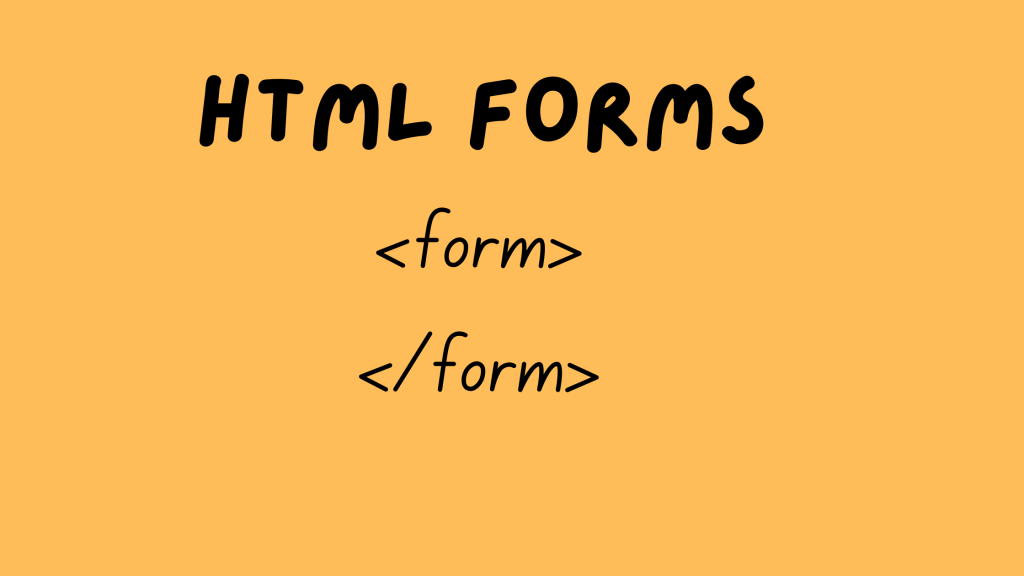
Imagine a box on your webpage. That’s what the <form> tag does. It creates a container that holds all the other form elements like buttons and input fields. Here’s the basic structure:
HTML
<form>
  </form>
2. Buttons: The Clickable Calls to Action
Buttons are what users click to submit the information they’ve entered in the form. The most common type is the <input type="submit"> button, which looks like a regular button. You can also create reset buttons using <input type="reset"> that clear the form data when clicked.
3. Input Elements: Where the Magic Happens
This is where users enter information. The <input> tag is super versatile and can change its behavior depending on the type attribute:
The <input> tag is your bread and butter for creating all sorts of input fields in your forms. By changing the type attribute, you can create various functionalities:
- Buttons:
<input type="submit">: Creates a button that submits the form data when clicked. (This is the most common type of button in forms.)<input type="reset">: Creates a button that resets the values of all the elements within the form to their initial states.
- Checkboxes:
<input type="checkbox">: Creates a small checkbox that users can select or deselect. You can use multiple checkboxes to allow users to choose multiple options.
- Color Picker:
<input type="color">: Creates a little input field that pops up a color picker when clicked. Users can then choose a color from the picker.
- Date Picker:
<input type="date">: Creates an input field where users can select a date using a calendar popup.
- Datetime-Local:
<input type="datetime-local">: This creates an input field that combines both date and time pickers in a single element.
- Email:
<input type="email">: Creates a single-line text input field specifically designed for email addresses. It helps ensure users enter the correct format (like [email address removed]).
- File Uploads:
<input type="file">: Creates a button that allows users to select files from their device to upload with the form.
- Hidden Fields:
<input type="hidden">: This type of input field is hidden from the user but can be used to store pre-filled information or data that needs to be submitted with the form.
- Image Submit Button:
<input type="image">: This allows you to use an image as a submit button. When users click on the image, the form is submitted.
- Month Picker:
<input type="month">: Creates an input field where users can select a specific month using a popup calendar.
- Number Input:
<input type="number">: Creates a single-line text input field that restricts the user’s input to numbers. You can also specify minimum and maximum allowed values.
- Password Field:
<input type="password">: Creates a single-line text input field where the characters typed are masked with dots or asterisks for security reasons, making it ideal for passwords.
- Radio Buttons:
<input type="radio">: These are like small circles. You can create a group of radio buttons using thenameattribute, where only one radio button in the group can be selected at a time.
- Range Slider:
<input type="range">: Creates a horizontal slider bar that users can drag to select a value within a specified range.
- Reset Button (same as mentioned earlier):
<input type="reset">: Creates a button that resets the values of all the elements within the form to their initial states.
- Search Input:
<input type="search">: Creates a single-line text input field that might be styled differently by the browser to indicate it’s meant for search queries.
- Submit Button (same as mentioned earlier):
<input type="submit">: Creates a button that submits the form data when clicked.
- Telephone Input:
<input type="tel">: Creates a single-line text input field where users can enter phone numbers. It might trigger a specific keyboard layout on mobile devices.
- Text Input (default type):
<input type="text">: This is the most common type and creates a single-line text input field for users to enter any kind of text.
- Time Picker:
<input type="time">: Creates an input field where users can select a specific time using a popup clock.
- URL Input:
<input type="url">: Creates a single-line text input field specifically designed for web addresses (URLs). It helps ensure users enter the correct format (like https://www.example.com).
- Week Picker:
<input type="week">: Creates an input field where users can select a specific week using a popup calendar.
Remember, this is just a list of the different input element types. Each type has additional attributes you can use to customize its appearance and behavior. So explore and experiment to create the perfect forms for your web pages
4. Giving Your Inputs a Name and Label
nameAttribute: This is like a nickname for your input field. It helps identify the data the user enters when the form is submitted.labelTag: Imagine a small tag next to your input field. Thelabeltag creates this and automatically links the label text to the input field for accessibility. Clicking the label will also put the cursor in the corresponding input field.
Here’s an example showing name and label together:
HTML
<label for="name">Your Name:</label>
<input type="text" id="name" name="userName">
5. Placeholder Text: A Helpful Hint
The placeholder attribute lets you put a faint gray text inside the input field that disappears when the user starts typing. It’s a great way to give users a hint about what kind of information to enter.
6. Unique IDs with id Attribute
The id attribute gives a unique identifier to your form elements. This can be useful for styling them with CSS (Cascading Style Sheets) later on, making your form look fancy.
7. Text Area: For Longer Inputs
If you need users to enter a larger amount of text, like a message or a review, you can use the <textarea> element. It creates a multi-line text input field.
Putting it all Together: A Simple Example
Here’s an example of a basic contact form with all the elements we discussed:
HTML
<form action="submit_form.php" method="post"> <label for="name">Name:</label>
  <input type="text" id="name" name="userName" placeholder="Enter your name">
  <br>
  <label for="email">Email:</label>
  <input type="email" id="email" name="userEmail" placeholder="Enter your email">
  <br>
  <input type="submit" value="Send">
</form>
This code creates a form with two input fields (name and email) and a submit button. Remember, this is just a basic example, and you can create much more complex forms with different elements to fit your needs!
Keep in mind: This example uses action and method attributes in the <form> tag. These are more advanced concepts, but they tell the server where to send the form data (usually a script like submit_form.php) and how to send it (usually POST for larger amounts of data). We’ll explore these in more detail as you learn more about HTML forms!


